Networking & Security
This section covers Steps 2–7 of the deployment: creating the VPC, subnets, internet gateway, NAT gateway, route tables, security groups, and IAM roles.
Step 2: Create VPC & Subnets
2.1 Create VPC
Console: VPC Dashboard → Your VPCs → Create VPC
| Field | Value |
|---|---|
| Resources to create | VPC and more |
| Name tag | smartinvoice-vpc |
| IPv4 CIDR | 10.0.0.0/16 |
| Tenancy | Default |
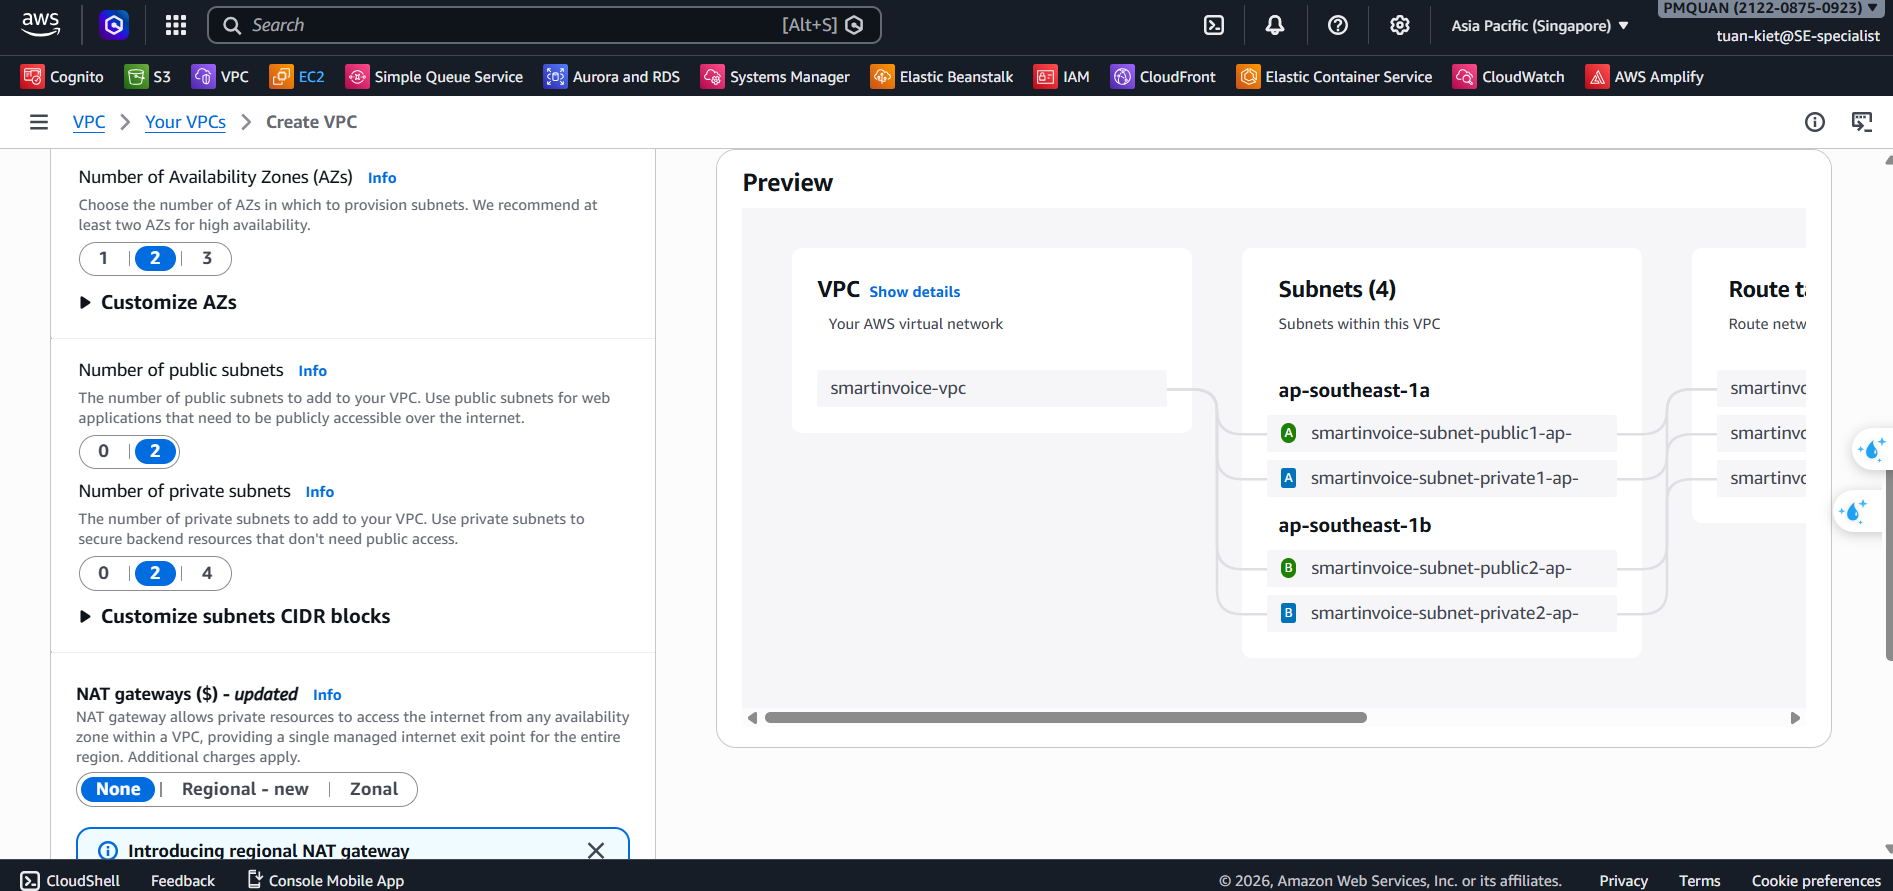
2.2 Create 4 Subnets
Console: VPC → Subnets → Create subnet (click Add new subnet to create all at once)
| # | Name | AZ | CIDR |
|---|---|---|---|
| 1 | smartinvoice-public-1a | ap-southeast-1a | 10.0.1.0/24 |
| 2 | smartinvoice-public-1b | ap-southeast-1b | 10.0.2.0/24 |
| 3 | smartinvoice-private-1a | ap-southeast-1a | 10.0.3.0/24 |
| 4 | smartinvoice-private-1b | ap-southeast-1b | 10.0.4.0/24 |
2.3 Enable Auto-assign Public IP
For each public subnet: Actions → Edit subnet settings → Enable auto-assign public IPv4
Step 3: Create Internet Gateway
Console: VPC → Internet Gateways → Create internet gateway
| Name tag | smartinvoice-igw |
|---|
→ Actions → Attach to VPC → smartinvoice-vpc → Attach ✅
Step 4: Create NAT Gateway
NAT Gateway allows Private Subnets to access the Internet (outbound). Cost ~$32/month.
Console: VPC → NAT Gateways → Create NAT gateway
| Field | Value |
|---|---|
| Name | smartinvoice-nat-gw |
| Subnet | smartinvoice-public-1a (must be in a Public Subnet!) |
| Connectivity | Public |
| Elastic IP | Click Allocate Elastic IP |
Wait for status Available (2–3 minutes).
Step 5: Create Route Tables
5.1 Public Route Table
Console: VPC → Route Tables → Create route table
| Name | VPC |
|---|---|
smartinvoice-public-rt | smartinvoice-vpc |
Routes → Edit → Add: 0.0.0.0/0 → Target: smartinvoice-igw
Subnet associations: tick smartinvoice-public-1a + smartinvoice-public-1b
5.2 Private Route Table
| Name | VPC |
|---|---|
smartinvoice-private-rt | smartinvoice-vpc |
Routes → Add: 0.0.0.0/0 → Target: smartinvoice-nat-gw
Subnet associations: tick smartinvoice-private-1a + smartinvoice-private-1b
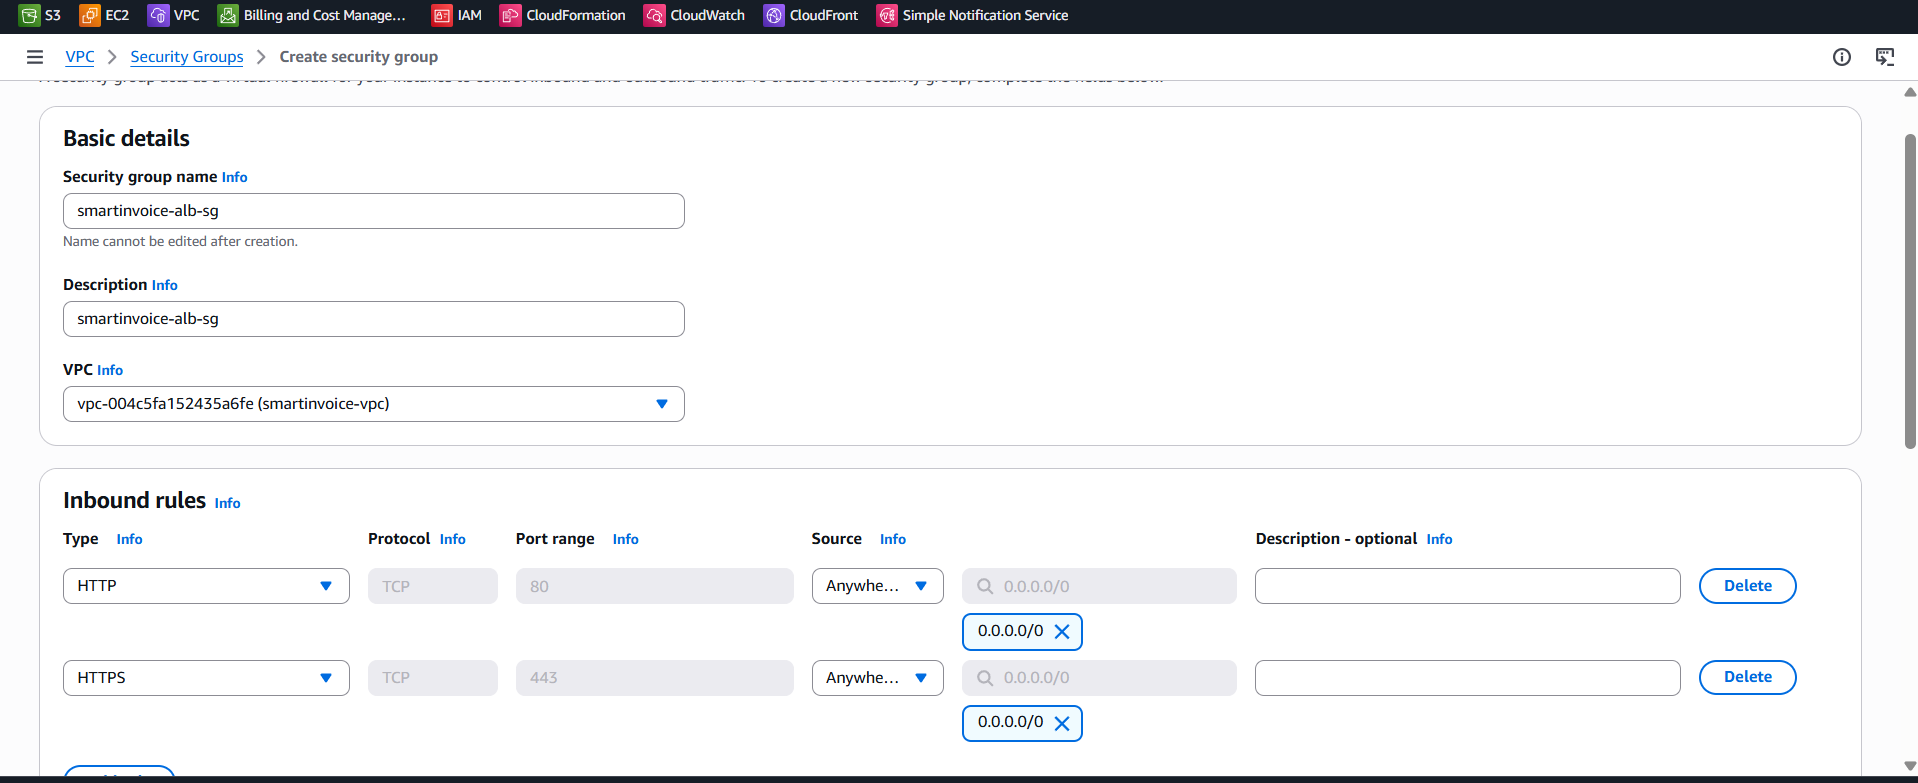
Step 6: Create Security Groups
Console: VPC → Security Groups → Create security group (VPC: smartinvoice-vpc)
SG 1: ALB (smartinvoice-alb-sg)
| Inbound | Port | Source |
|---|---|---|
| HTTP | 80 | 0.0.0.0/0 |
| HTTPS | 443 | 0.0.0.0/0 |
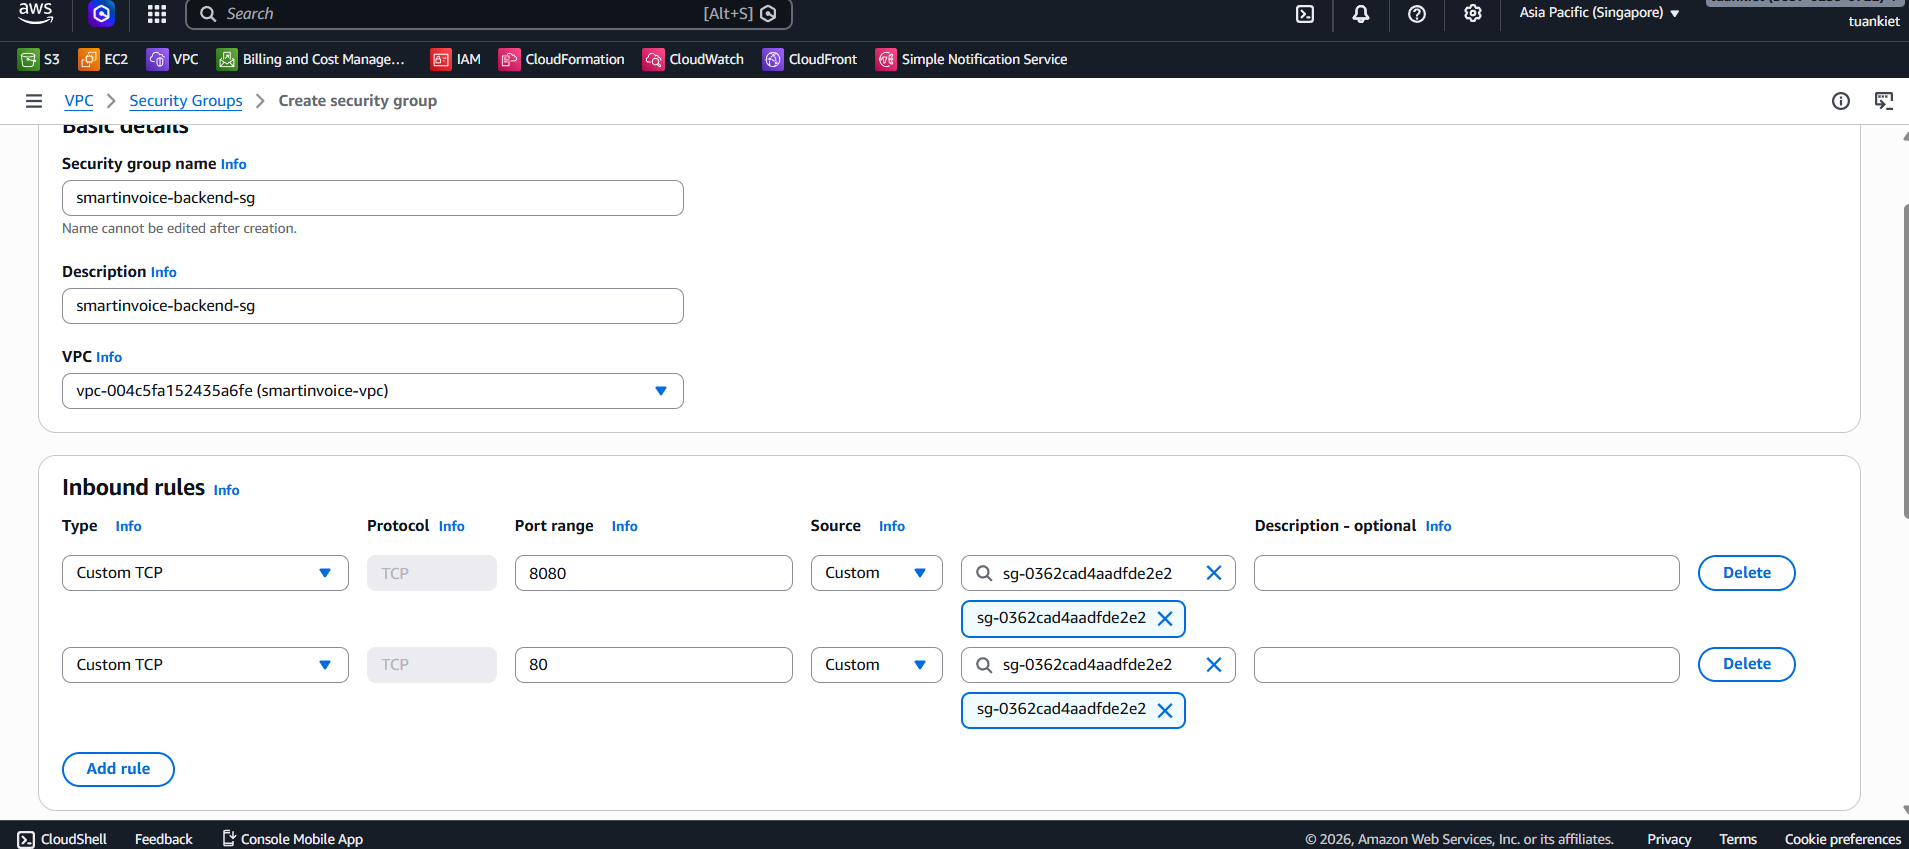
SG 2: Backend (smartinvoice-backend-sg)
| Inbound | Port | Source |
|---|---|---|
| HTTP | 80 | smartinvoice-alb-sg |
| Custom TCP | 8080 | smartinvoice-alb-sg |
SG 3: RDS (smartinvoice-rds-sg)
| Inbound | Port | Source |
|---|---|---|
| PostgreSQL | 5432 | smartinvoice-backend-sg |
| PostgreSQL | 5432 | smartinvoice-ocr-sg |
SG 4: OCR (smartinvoice-ocr-sg)
| Inbound | Port | Source |
|---|---|---|
| Custom TCP | 5000 | smartinvoice-backend-sg (Direct internal) |
All SGs: Outbound = All traffic →
0.0.0.0/0
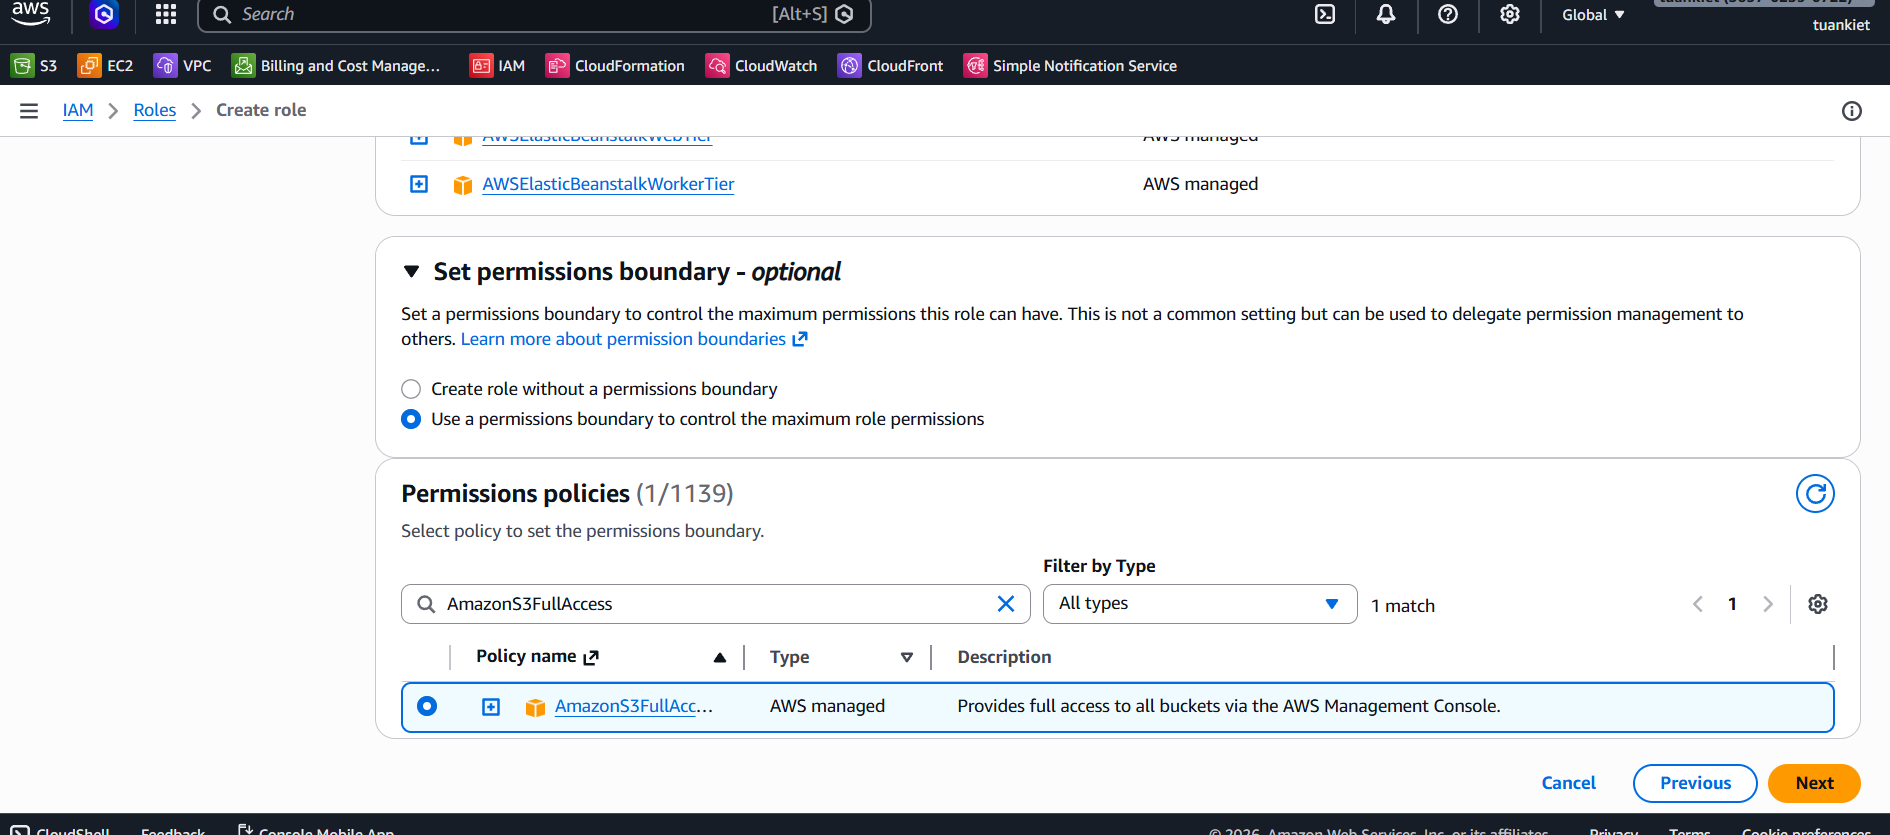
Step 7: Create IAM Roles
You need to create 4 IAM Roles. The general procedure for each:
General Steps:
- Go to IAM Console → Sidebar → Roles → Create role.
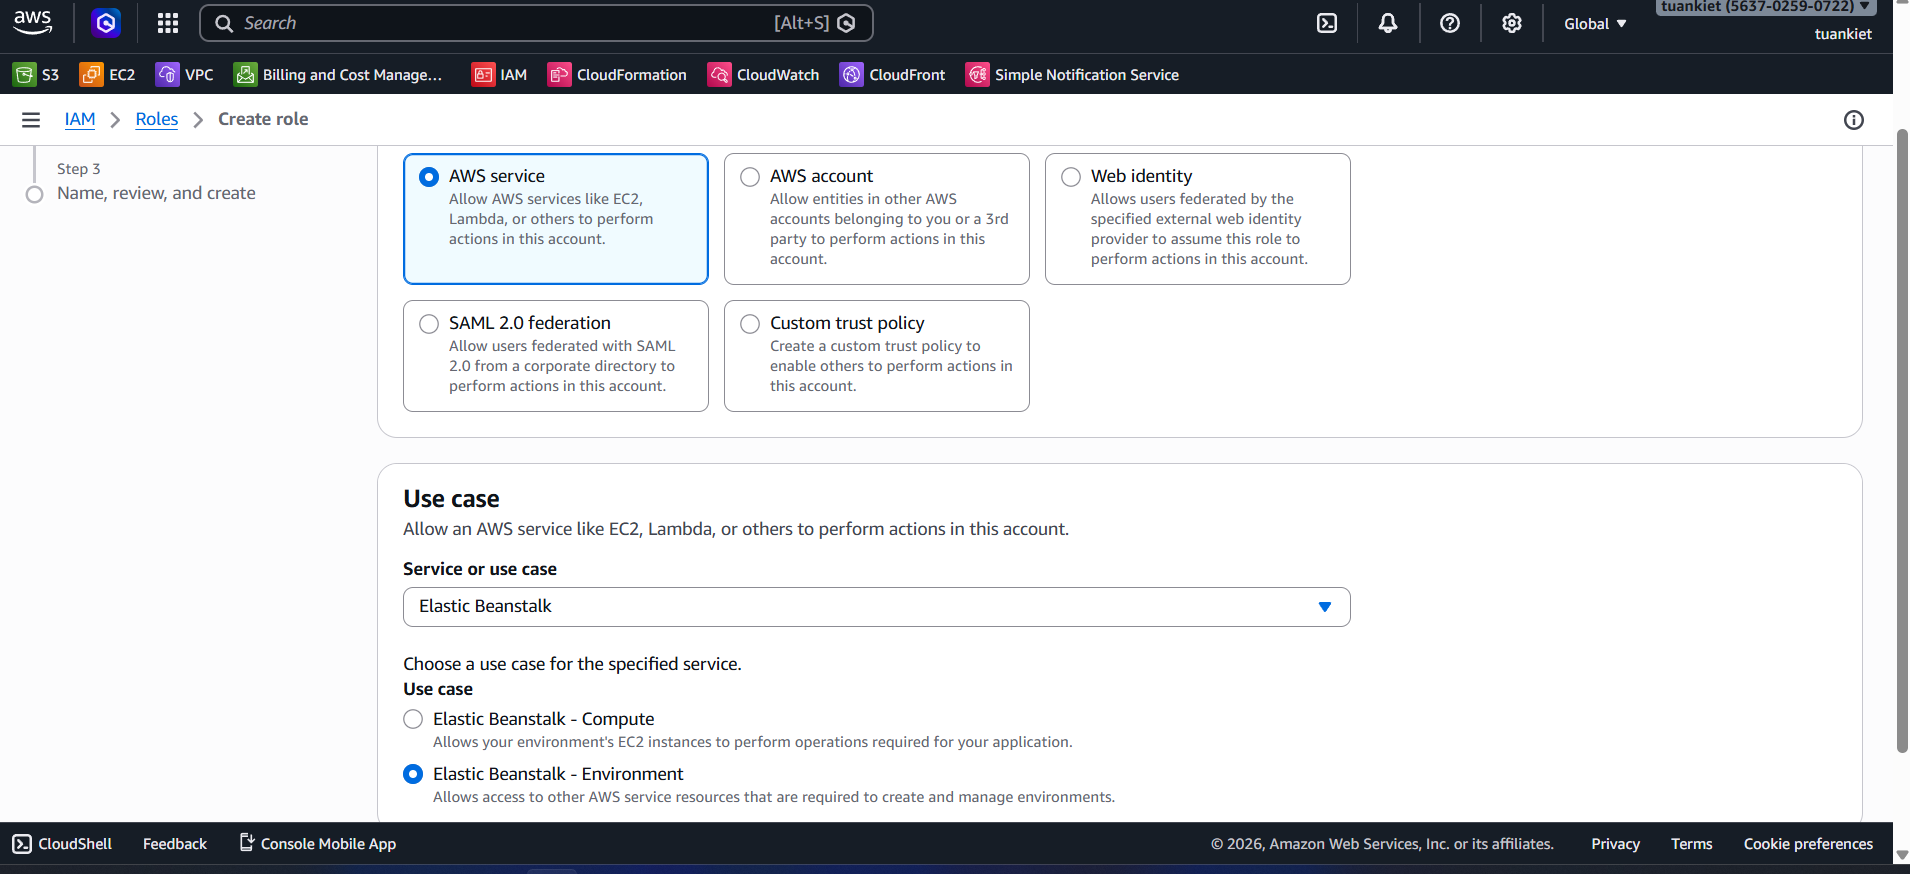
- Step 1: Trusted entity type:
AWS service. Select the corresponding service. Click Next. - Step 2: Search and tick the required policies. Click Next.
- Step 3: Enter the Role name exactly. Click Create role ✅.
7.1 EB EC2 Role (aws-elasticbeanstalk-ec2-role)
Grants EC2 instances in the Backend the right to access other AWS resources.
- Trusted entity: AWS service → Elastic Beanstalk → Use case: Elastic Beanstalk - Compute
- Policies:
AmazonS3FullAccessAmazonSQSFullAccessAmazonCognitoPowerUserAmazonSSMReadOnlyAccessAmazonEC2ContainerRegistryReadOnlyCloudWatchLogsFullAccess
7.2 EB Service Role (aws-elasticbeanstalk-service-role)
Allows Elastic Beanstalk to call AWS services on your behalf.
- Trusted entity: AWS service → Elastic Beanstalk → Use case: Elastic Beanstalk - Environment
- Policies (auto-attached by AWS):
AWSElasticBeanstalkEnhancedHealthAWSElasticBeanstalkManagedUpdatesCustomerRolePolicy
7.3 ECS Execution Role (ecsTaskExecutionRole)
Allows ECS Fargate to pull images from ECR and write logs to CloudWatch.
- Trusted entity: AWS service → Elastic Container Service → Elastic Container Service Task
- Policies:
AmazonECSTaskExecutionRolePolicyCloudWatchLogsFullAccess
7.4 ECS Task Role for OCR (smartinvoice-ecs-task-role)
Grants direct permissions to the OCR application running in the container.
- Trusted entity: AWS service → Elastic Container Service → Elastic Container Service Task
- Policies:
AmazonS3FullAccessAmazonSQSFullAccessAmazonSSMReadOnlyAccess