Frontend, Proxy & Route 53
This section covers Steps 16–18: configuring CloudFront as an HTTPS proxy for the Backend API, deploying the React frontend on AWS Amplify, and mapping a custom domain with Route 53.
Step 16: Configure HTTPS with CloudFront (Backend Proxy)
CloudFront acts as the public HTTPS gateway for the Backend API.
16.1 Get Started
Console: CloudFront → Create distribution
| Field | Value |
|---|---|
| Distribution name | smartinvoice-backend-proxy |
| Distribution type | Single website or app |
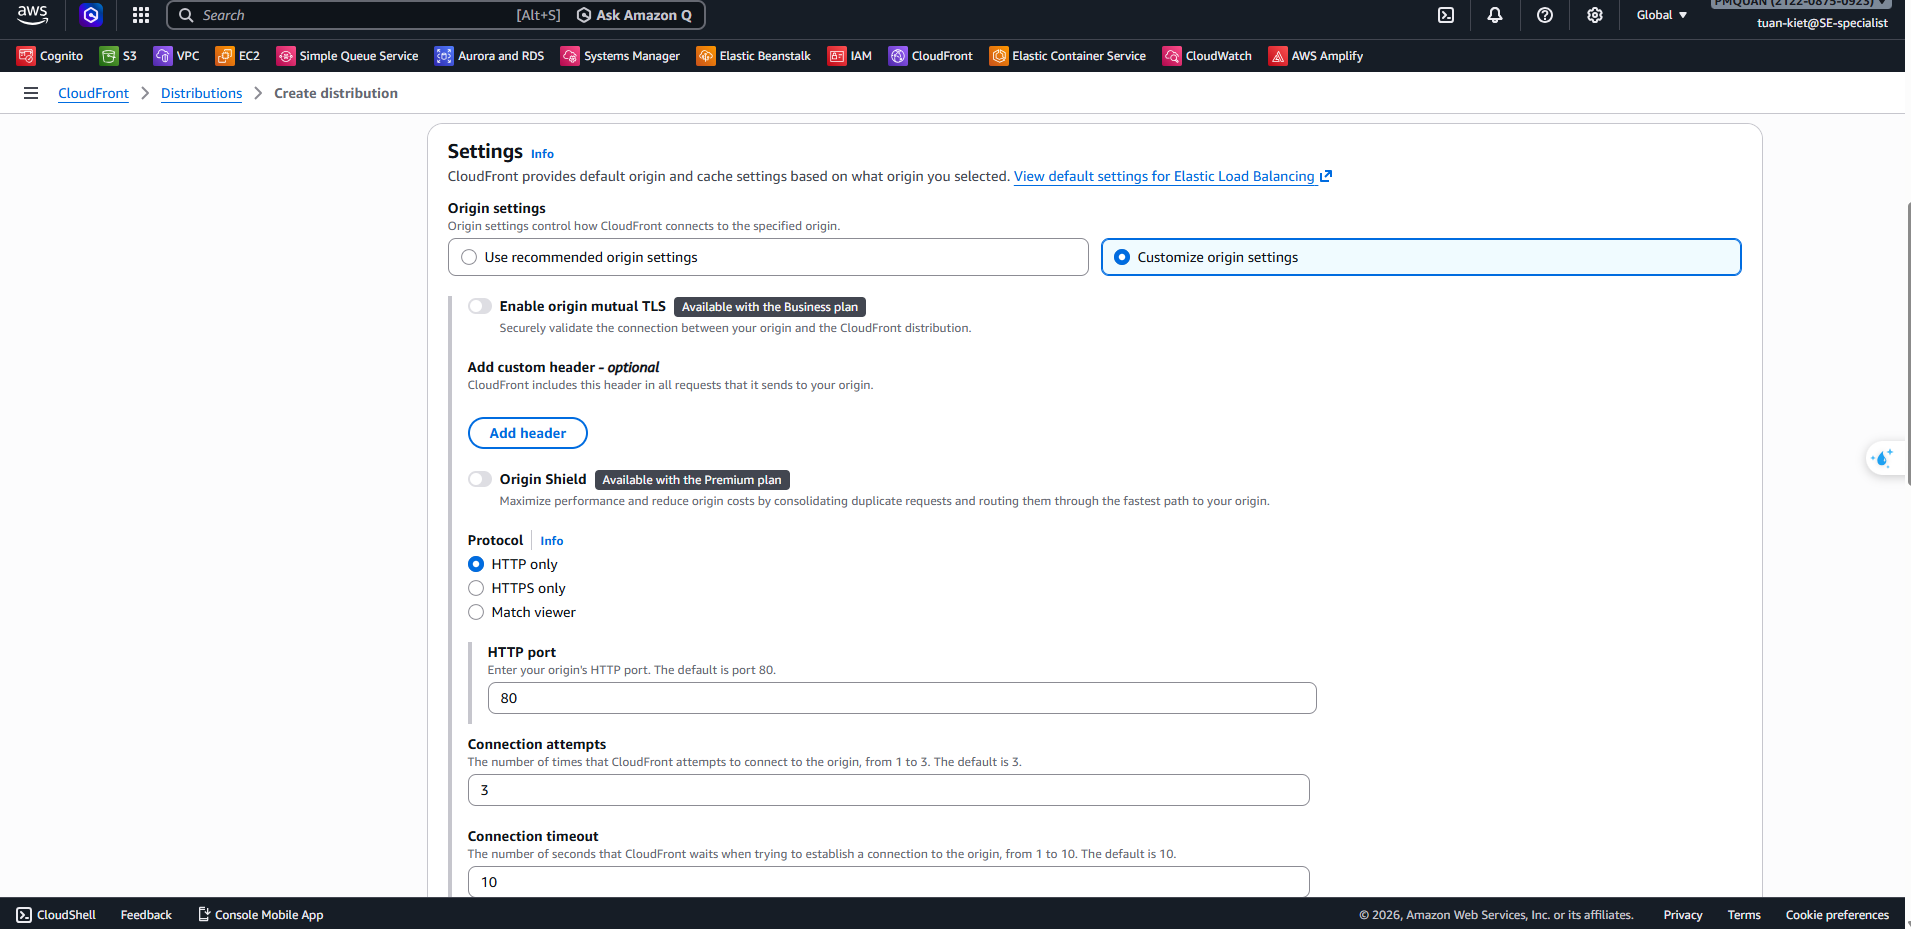
16.2 Specify Origin
| Field | Value |
|---|---|
| Origin type | Elastic Load Balancer |
| Origin domain | DNS Name of the EB ALB (e.g. awseb-e-m-AWSEBLoa-xxxx.ap-southeast-1.elb.amazonaws.com) |
| Protocol | HTTP only, HTTP Port: 80 |
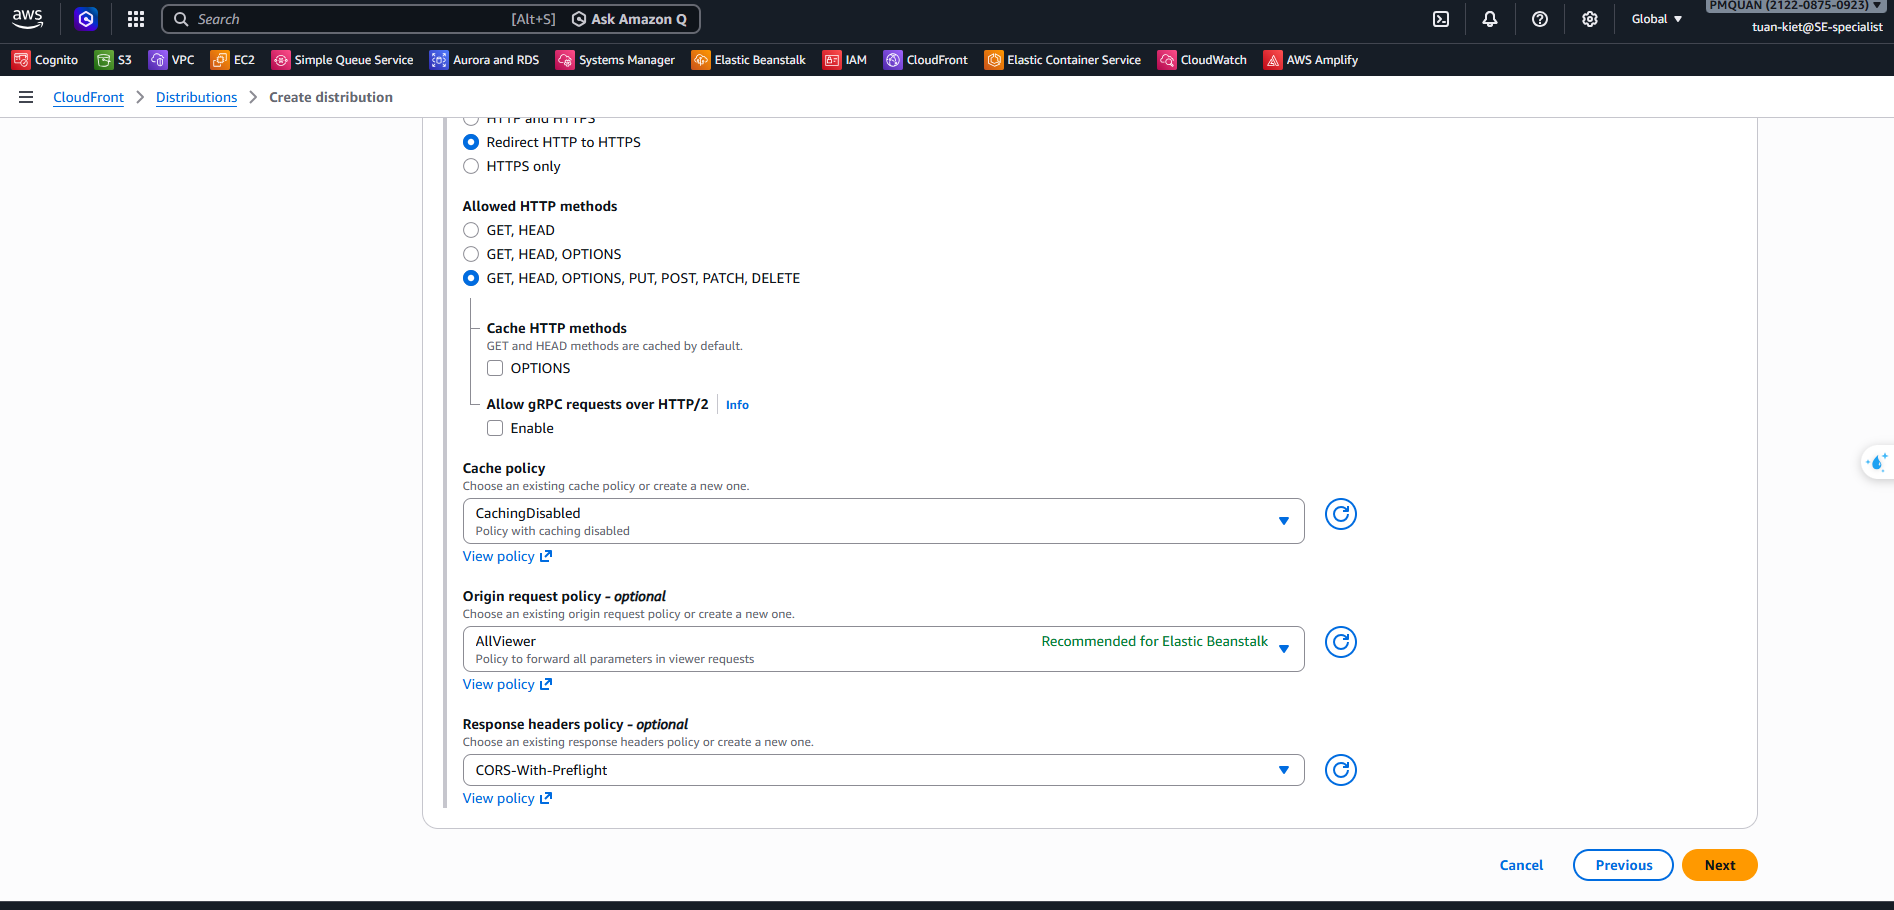
16.3 Default Cache Behavior
| Field | Value |
|---|---|
| Viewer protocol policy | Redirect HTTP to HTTPS |
| Allowed HTTP methods | GET, HEAD, OPTIONS, PUT, POST, PATCH, DELETE |
| Cache policy | CachingDisabled |
| Origin request policy | AllViewerExceptHostHeader |
| Response headers policy | CORS-With-Preflight |
16.4 Security & Review
- Rate limiting: ✅ Enable (Recommended — protects against API spam)
→ Click Create distribution and wait ~5 minutes for deployment.
→ Note down the CloudFront domain (e.g. https://d3xxxx.cloudfront.net) — you will use this as the API URL for the frontend.
Step 17: Deploy Frontend on Amplify
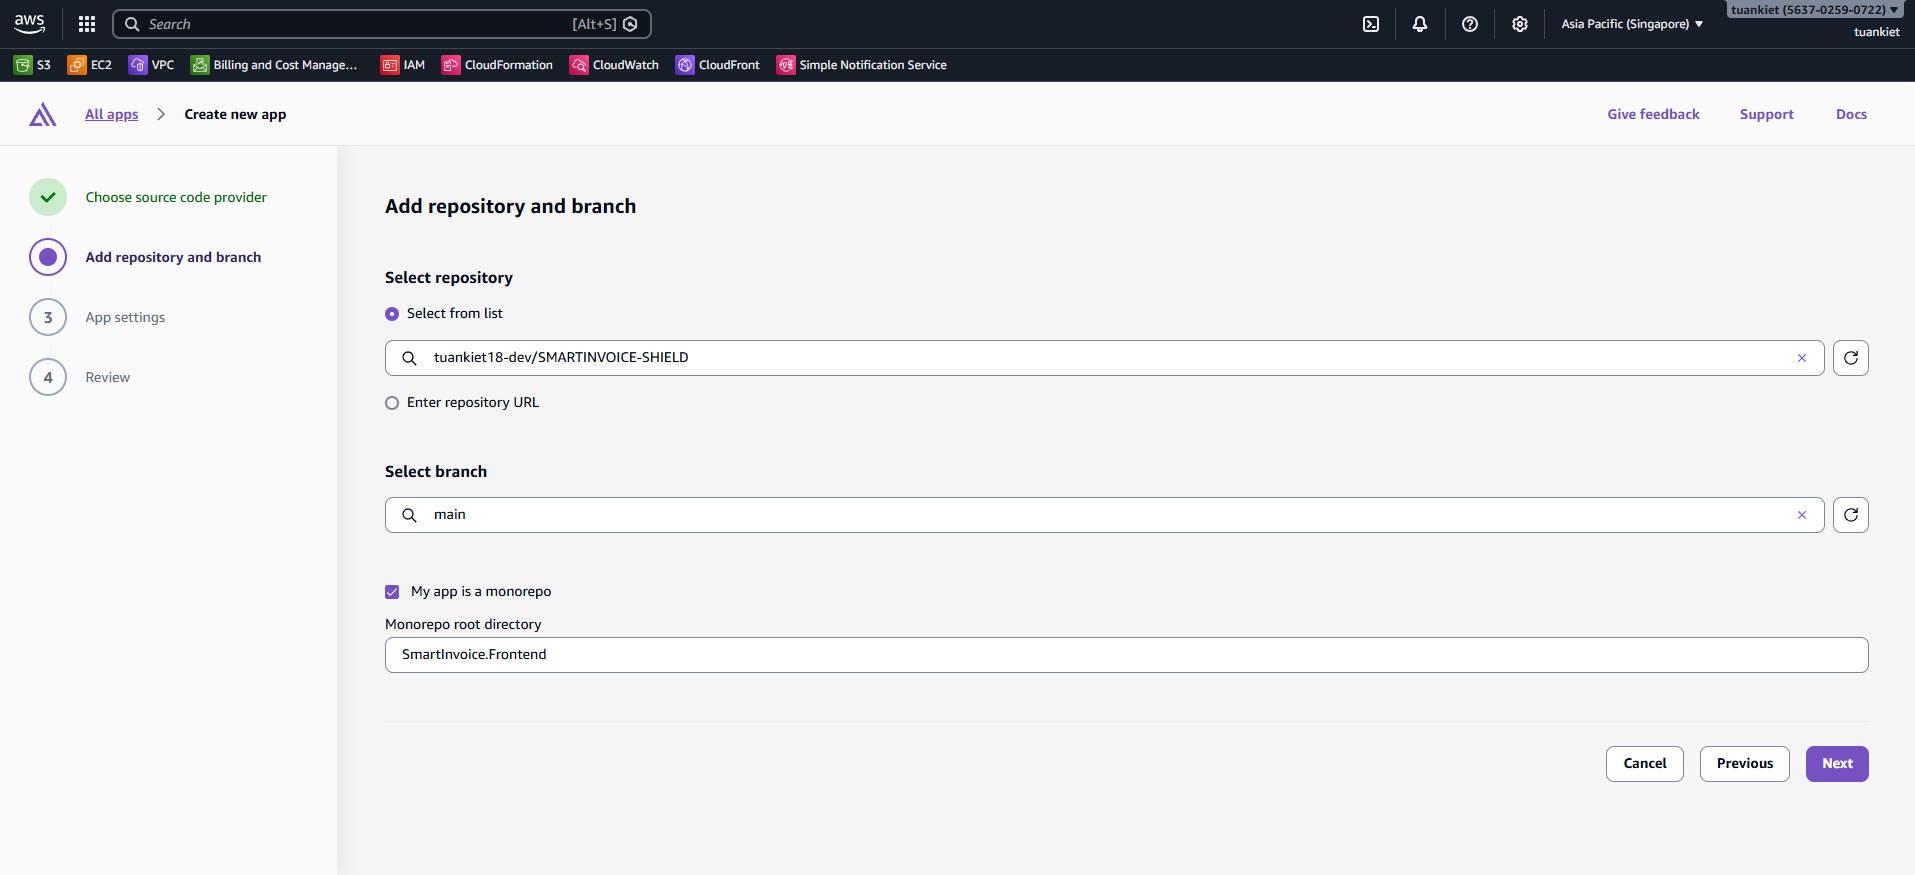
17.1 Connect Branch
- Console: AWS Amplify → All apps → New app → Host web app.
- Connect GitHub Repository
tuankiet18-dev/SMARTINVOICE-SHIELD, select branchmain.
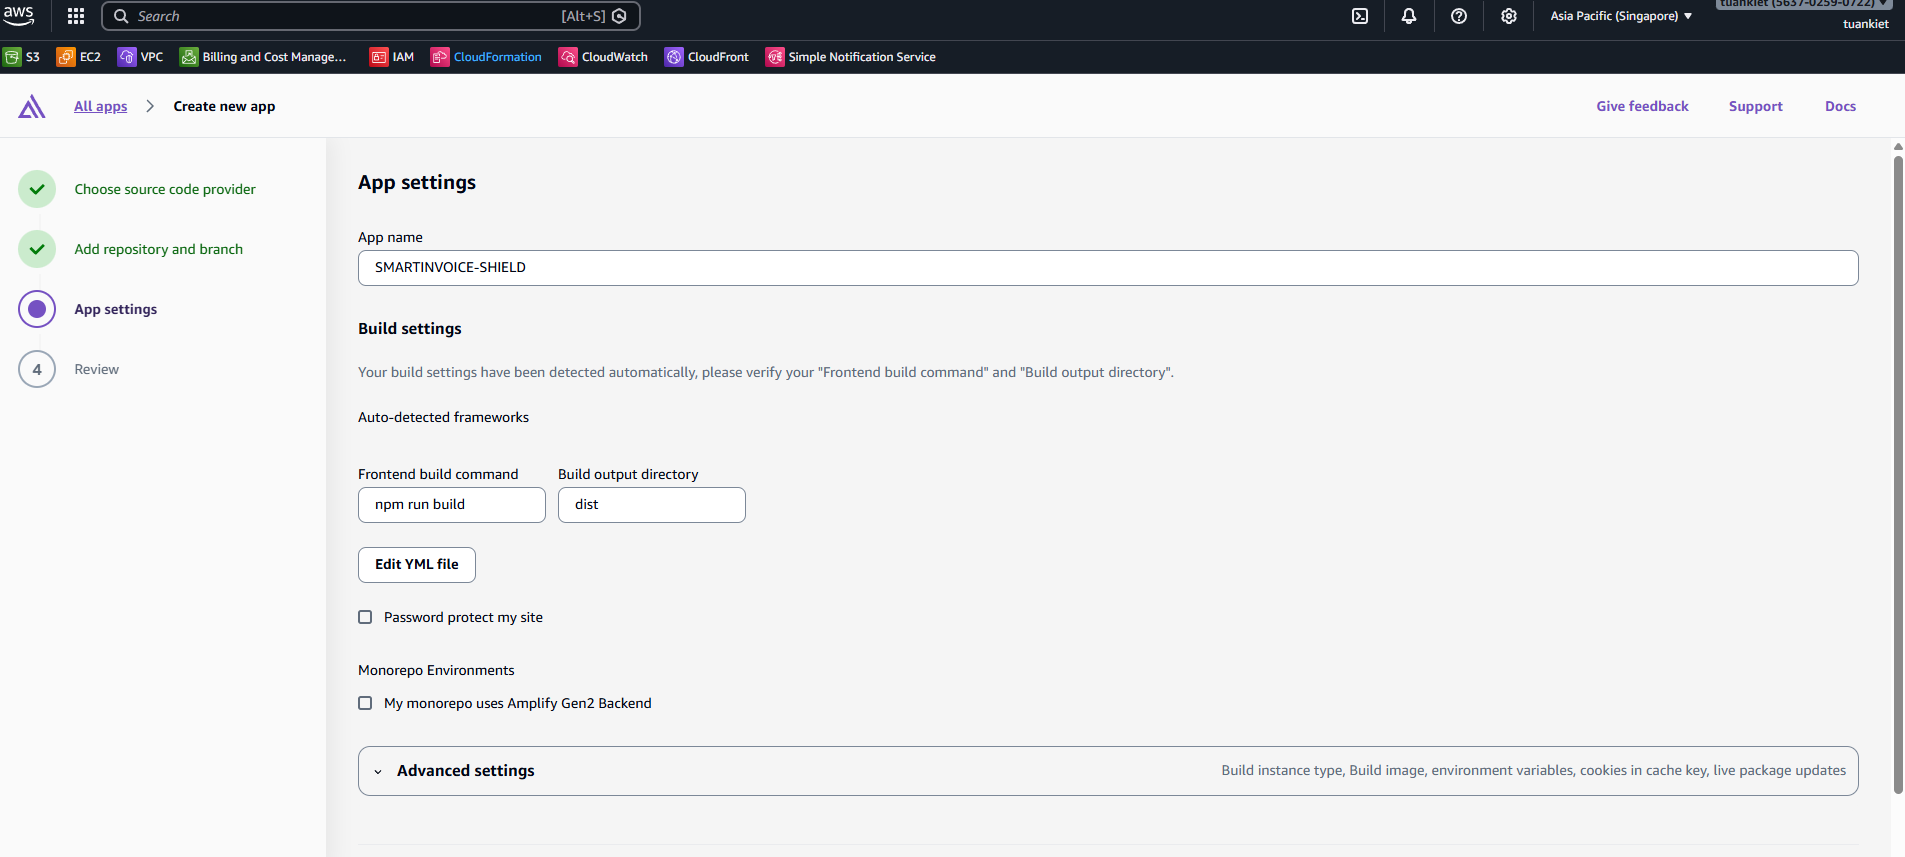
17.2 Build Settings (amplify.yml)
Amplify auto-detects Vite. Verify under App settings → Build settings:
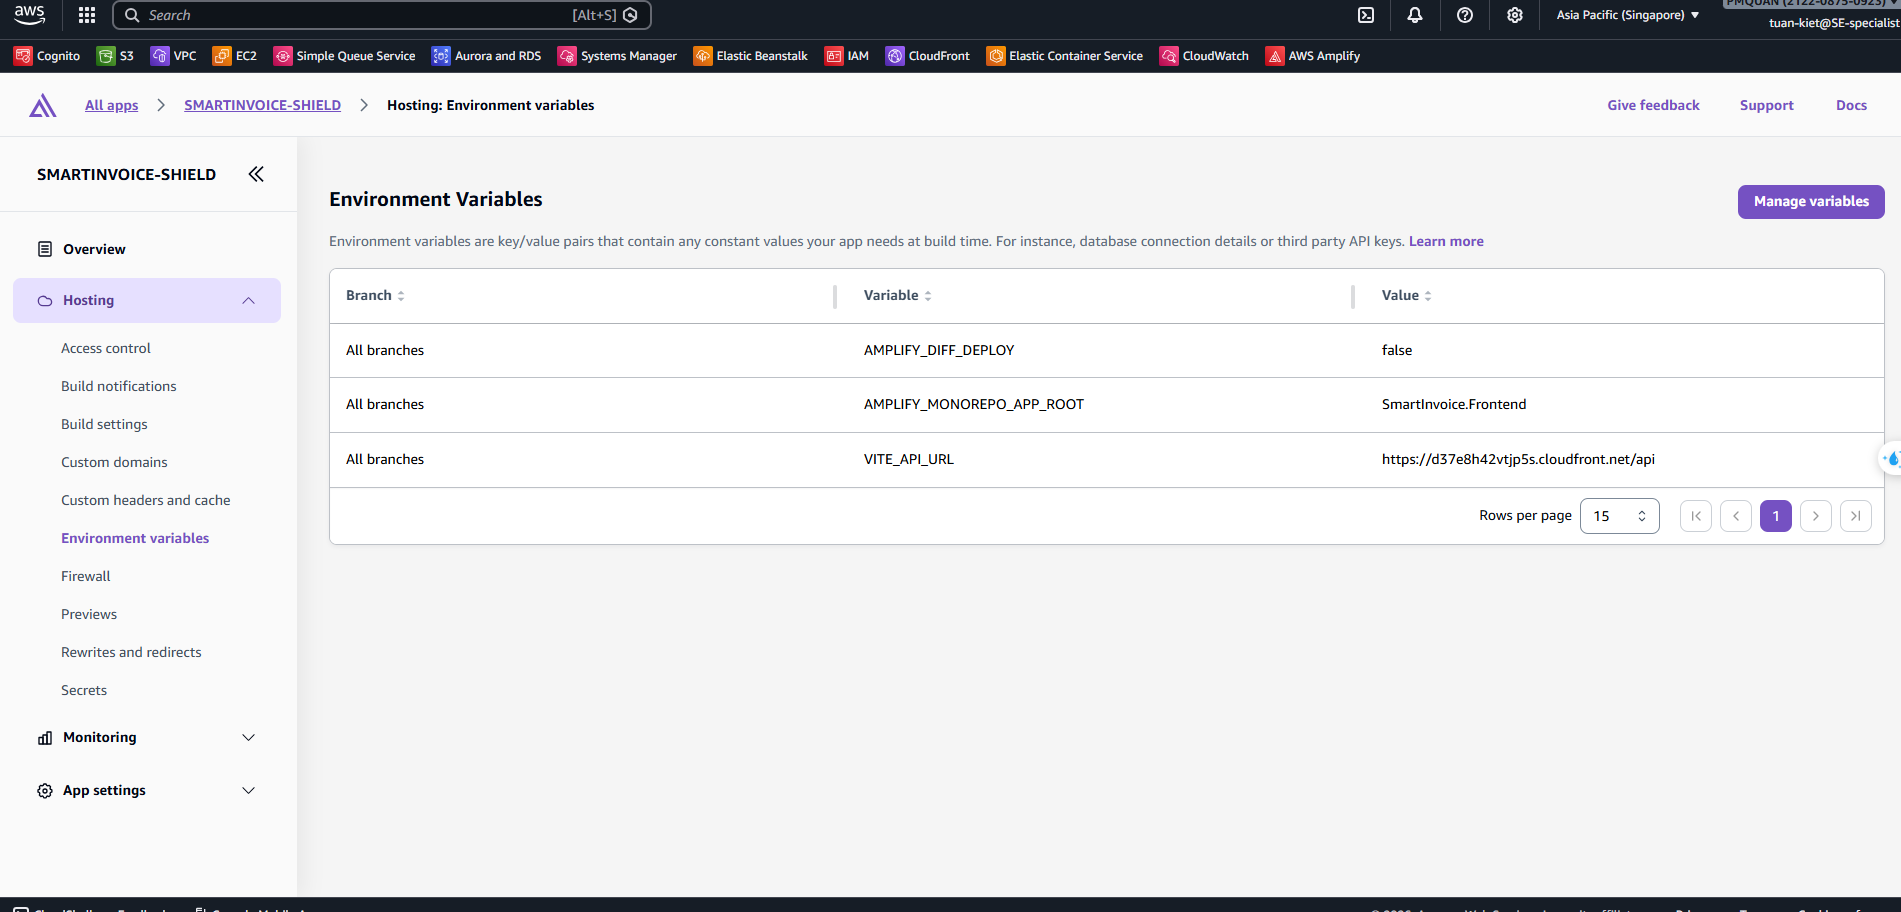
17.3 Environment Variables
Console: App settings → Environment variables → Add:
| Key | Value |
|---|---|
VITE_API_URL | CloudFront domain from Step 16 (e.g. https://d3xxxx.cloudfront.net/api) |
→ After deployment, copy the Amplify URL and update SSM parameter ALLOWED_ORIGINS.
Step 18: Configure Custom Domain (Route 53)
After deploying the frontend on Amplify, you can optionally map a custom domain.
- Console: Route 53 → Hosted zones
- Ensure you have a registered domain or create a new Hosted Zone.
- Console: AWS Amplify → App settings → Domain management → Add domain
- Enter your custom domain and click Configure domain.
- Amplify will automatically generate SSL certificates and propose CNAME validation records.
- Copy these CNAME records to your Route 53 Hosted Zone.
- Wait for DNS propagation and SSL verification (can take up to a few hours, usually ~15 mins).
- Once verified, your web interface will be accessible securely at your custom domain.